How to Print Pathfinder 2e Item Cards
Use double-sided glossy 200gsm A4 paper for best results. This guide covers printing the item card front and item card back, laminating, trimming, corner rounding, and optional sleeves for a professional tabletop finish.
What you’ll need
- Double-sided Glossy Paper 200GSM (A4) — required
- Inkjet printer (duplex helps, but not required)
- Laminator & A4 glossy laminating pouches
- A4 rotary trimmer & corner rounder
- Optional: card sleeves
Suggested gear (what we use)
- Printer: Canon PIXMA G650
- Paper: Double-Sided Glossy Inkjet A4 (200gsm)
- Rotary Trimmer: A4 Rotary Trimmer
- Laminator: A4 Laminator
- Corner Cutter: Corner Rounder
These are suggestions based on what we use—feel free to substitute equivalent gear.
Quick tips
- Print at 100% scale (no “Fit to page”).
- Double-sided glossy 200gsm paper gives the best look & feel.
- No auto-duplex? Print the item card front, then manually flip to print the item card back (run a plain-paper test first).
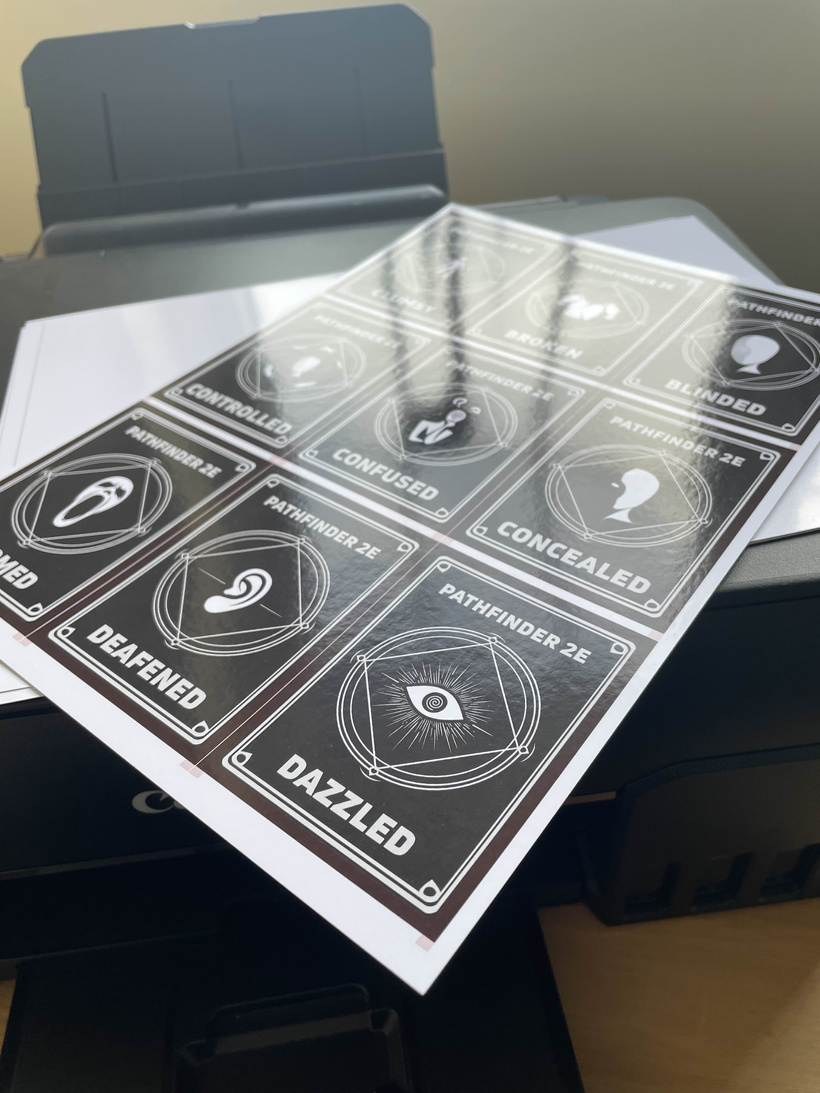
Prepare a print-ready template (9-card A4)
Before printing, set up your template so each sheet contains a 3×3 grid. The template guide shows how to place and align the item card front and the item card back correctly so they line up after printing.

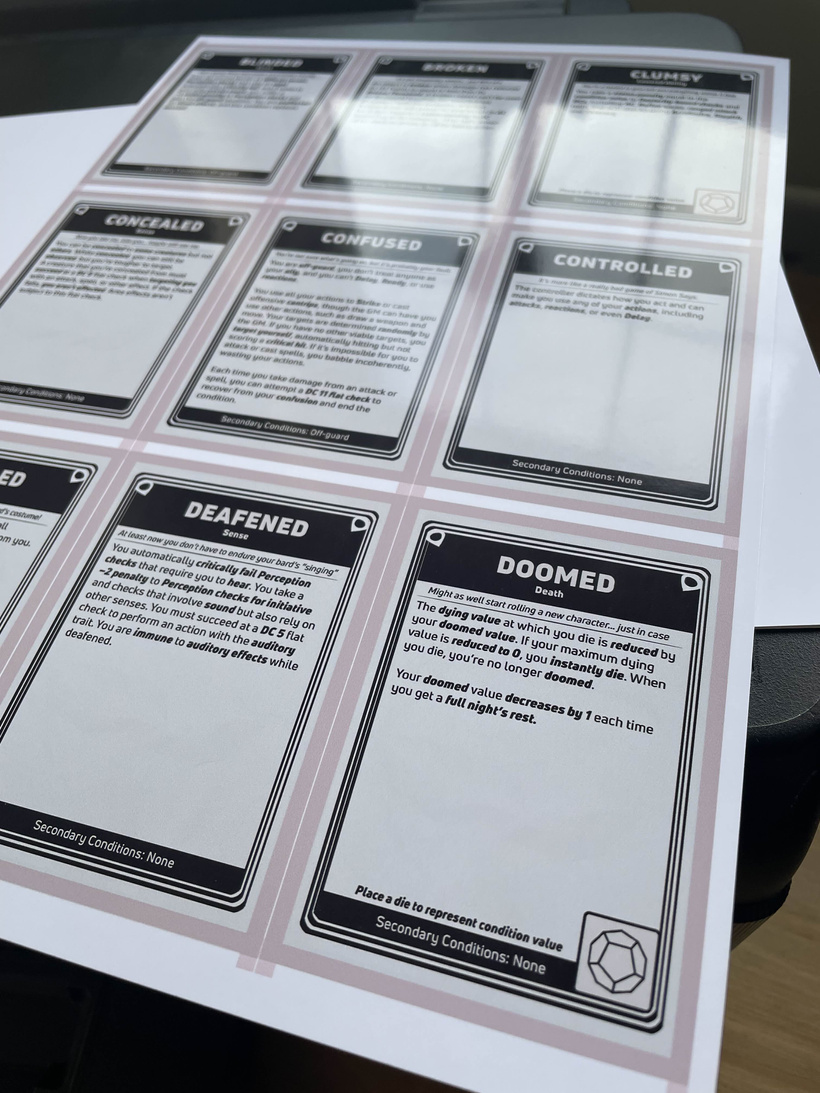
Print the template (item card front & item card back)
Use your inkjet printer and double-sided glossy 200gsm A4 paper. If your printer supports duplex, use long-edge flip. Otherwise, print the item card front first, then carefully flip the sheet and print the item card back as a second pass. Run a quick plain-paper test to confirm feed orientation and alignment.
Laminate the printed sheets
Place each printed sheet in a glossy A4 laminating pouch and run it through your laminator. Lamination adds durability and a premium sheen for table use.
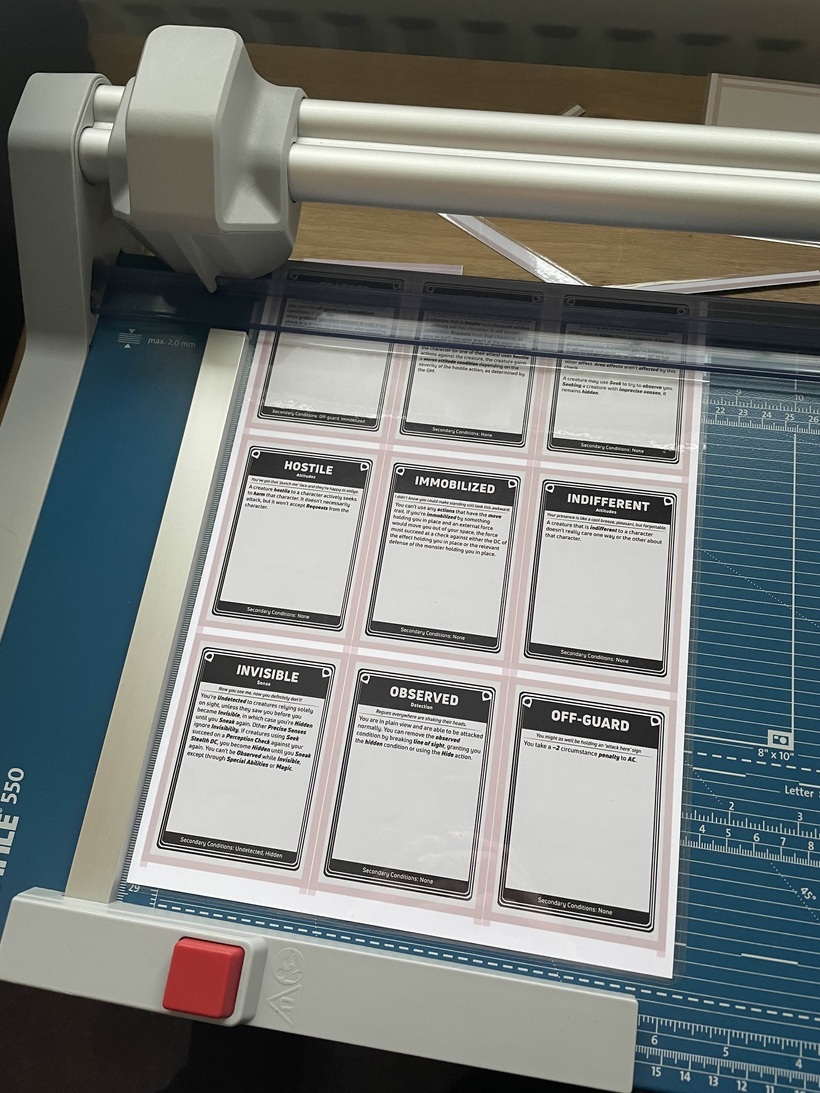
Trim & round the corners
Use a rotary trimmer for straight, consistent cuts—trim along the guides without cutting into the design. Then use a corner rounder on each card for smooth, uniform edges.

Laminate again to seal edges
Run your cut and rounded cards through the laminator one more time to seal edges and enhance the glossy finish.
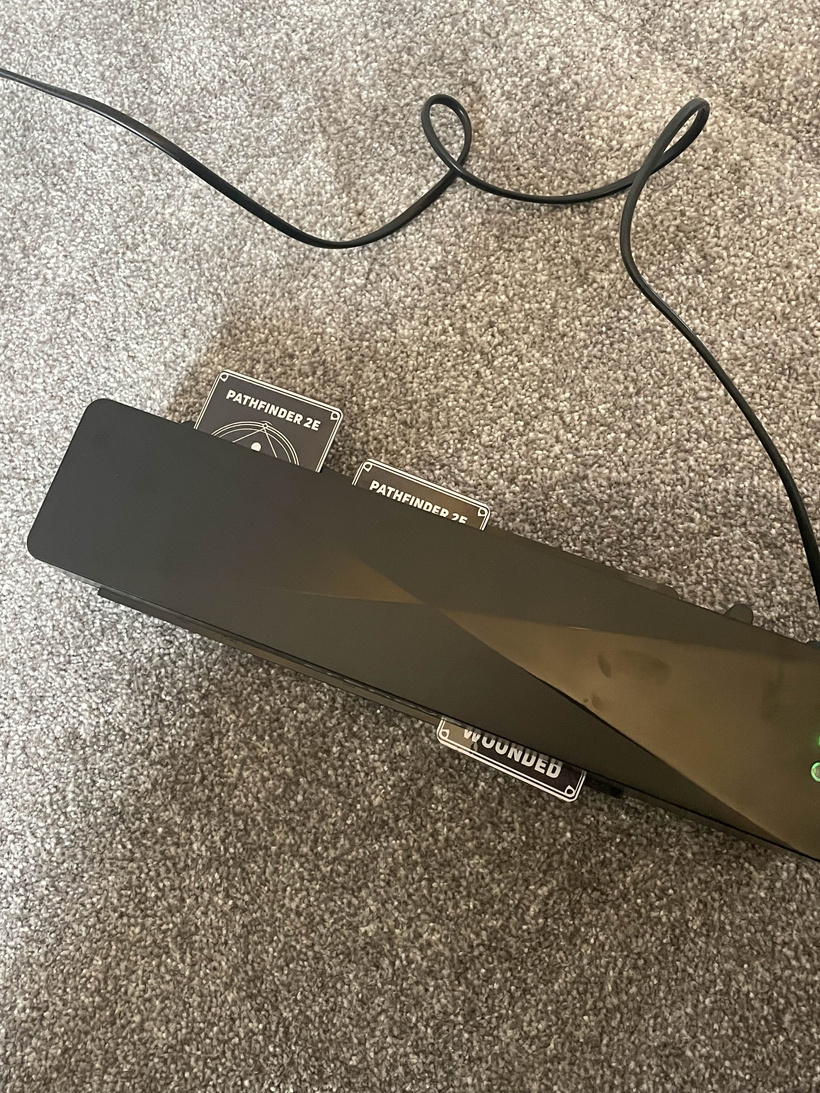
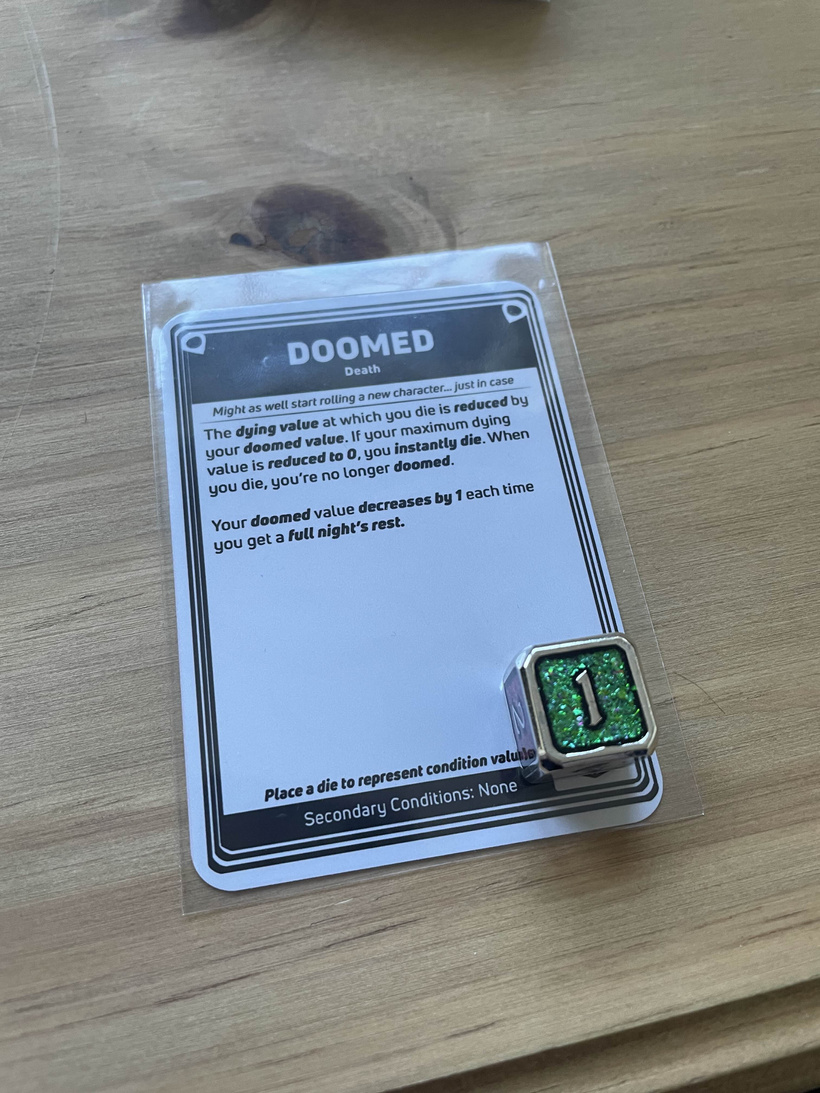
Sleeve the cards
Add sleeves for extra protection and easier shuffling—especially for high-use decks like conditions.