
PF2e Item Card Generator — Step-by-Step
Build multi-page, printer-ready PDFs from our catalogue of Pathfinder 2e item cards. Visit the web app, pick your cards, customise your settings, choose your export format, and print.
What you’ll get
- Printer-ready multi-page PDF
- A4 / US Letter formats layouts
- Mirrored option for duplex printing
- 9 cards per page
Why use the Generator?
No templates to manage. Pick from our catalouge of cards, customise, export a PDF, print and done.
Print PF2e Item Cards (Step-by-Step)
Visit the web application
Open the PF2e Print-and-Play Generator in your browser.
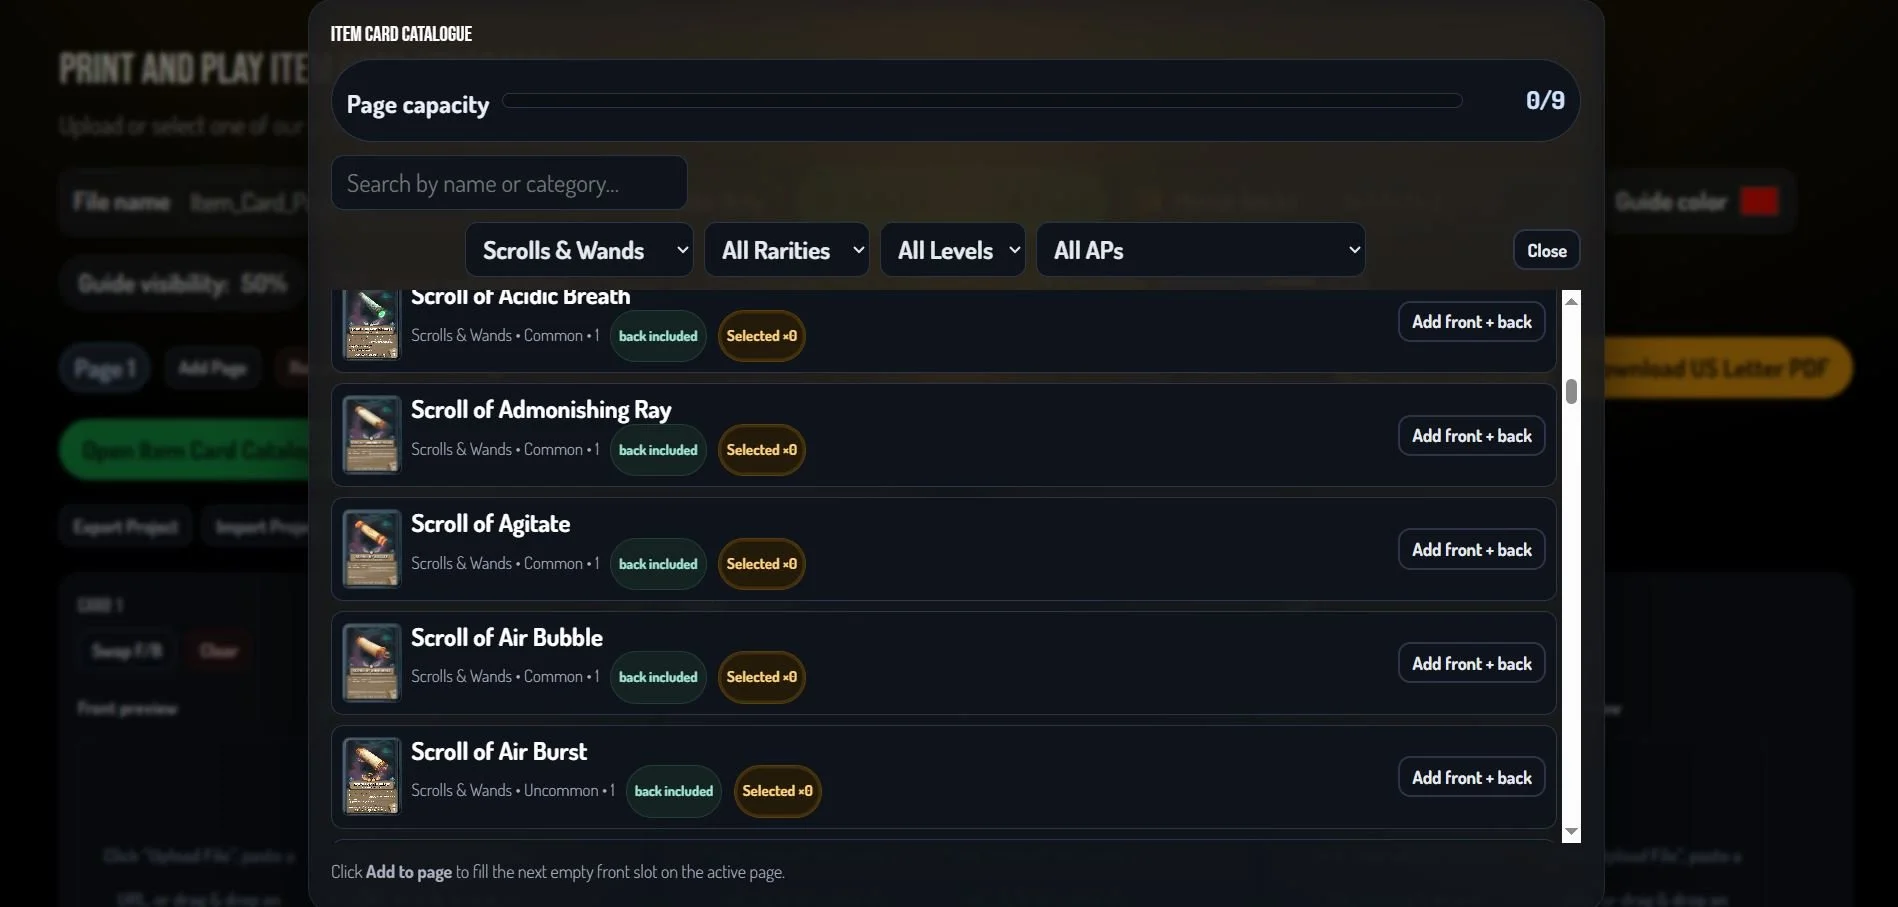
Select the item cards you want to print from our catalogue
Browse and add the cards you want. The page shows remaining slots (0/9 → 9/9).
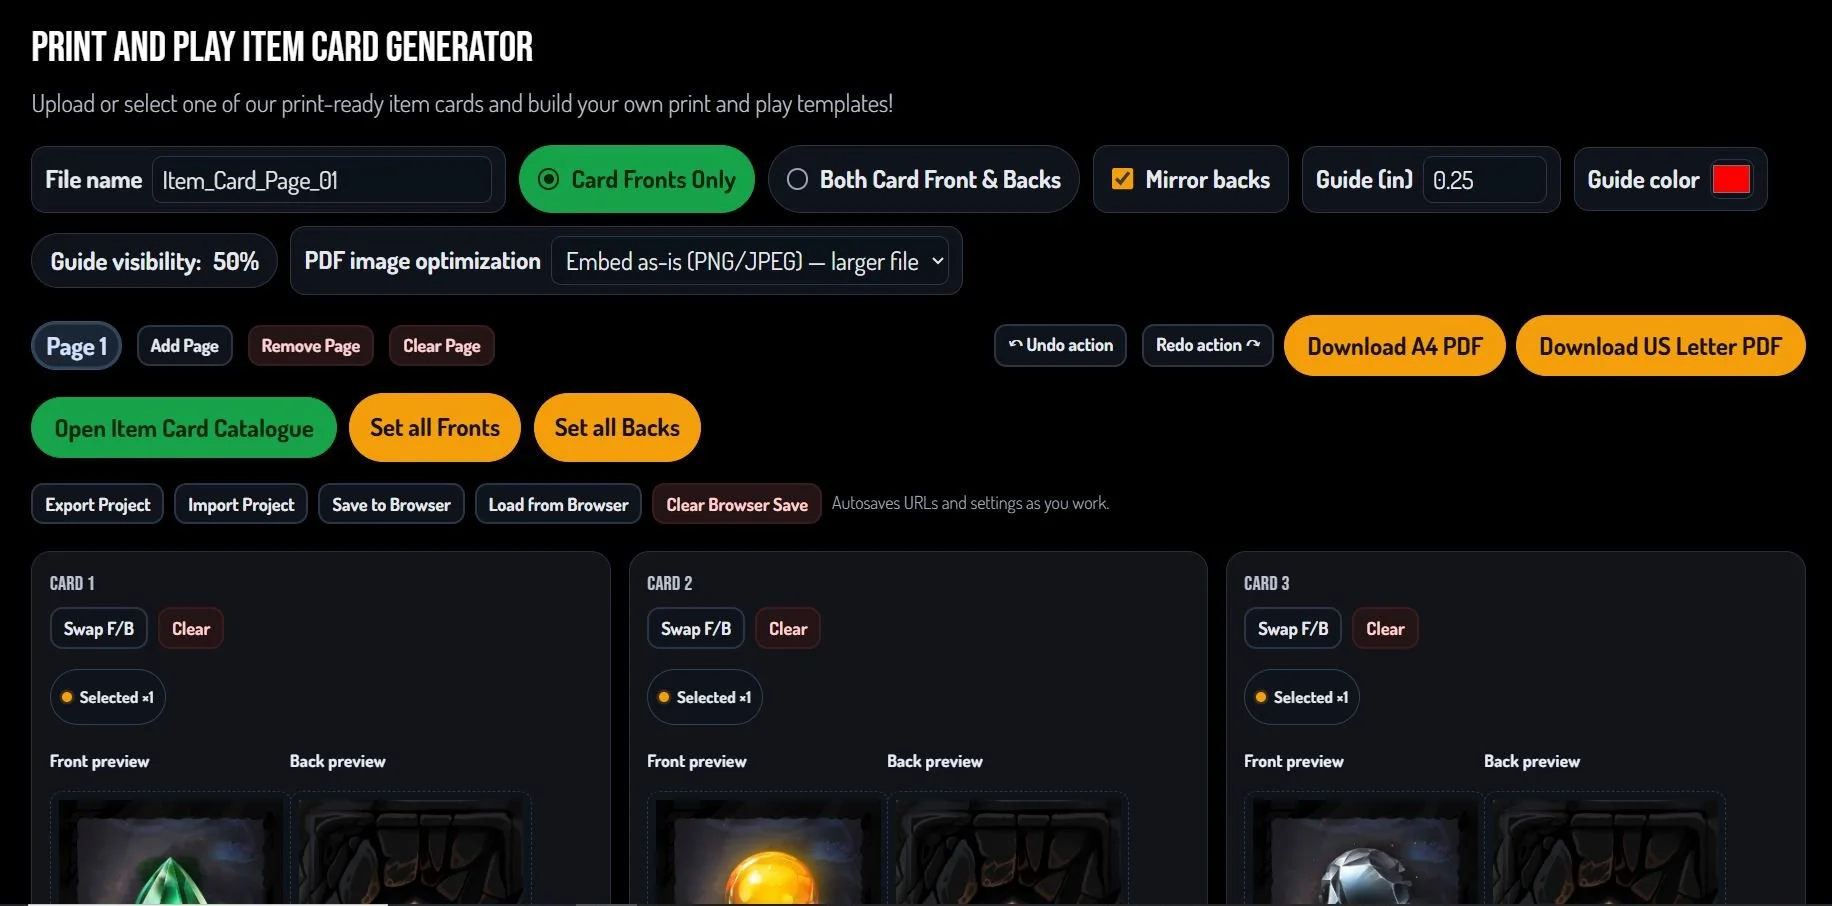
Customise your requirements
Adjust:
- Guide line thickness — recommend 0.125 to a maximum of 0.25
- Guide line colour & opacity
- Card fronts only or include card backs
- Mirror setting for duplex alignment
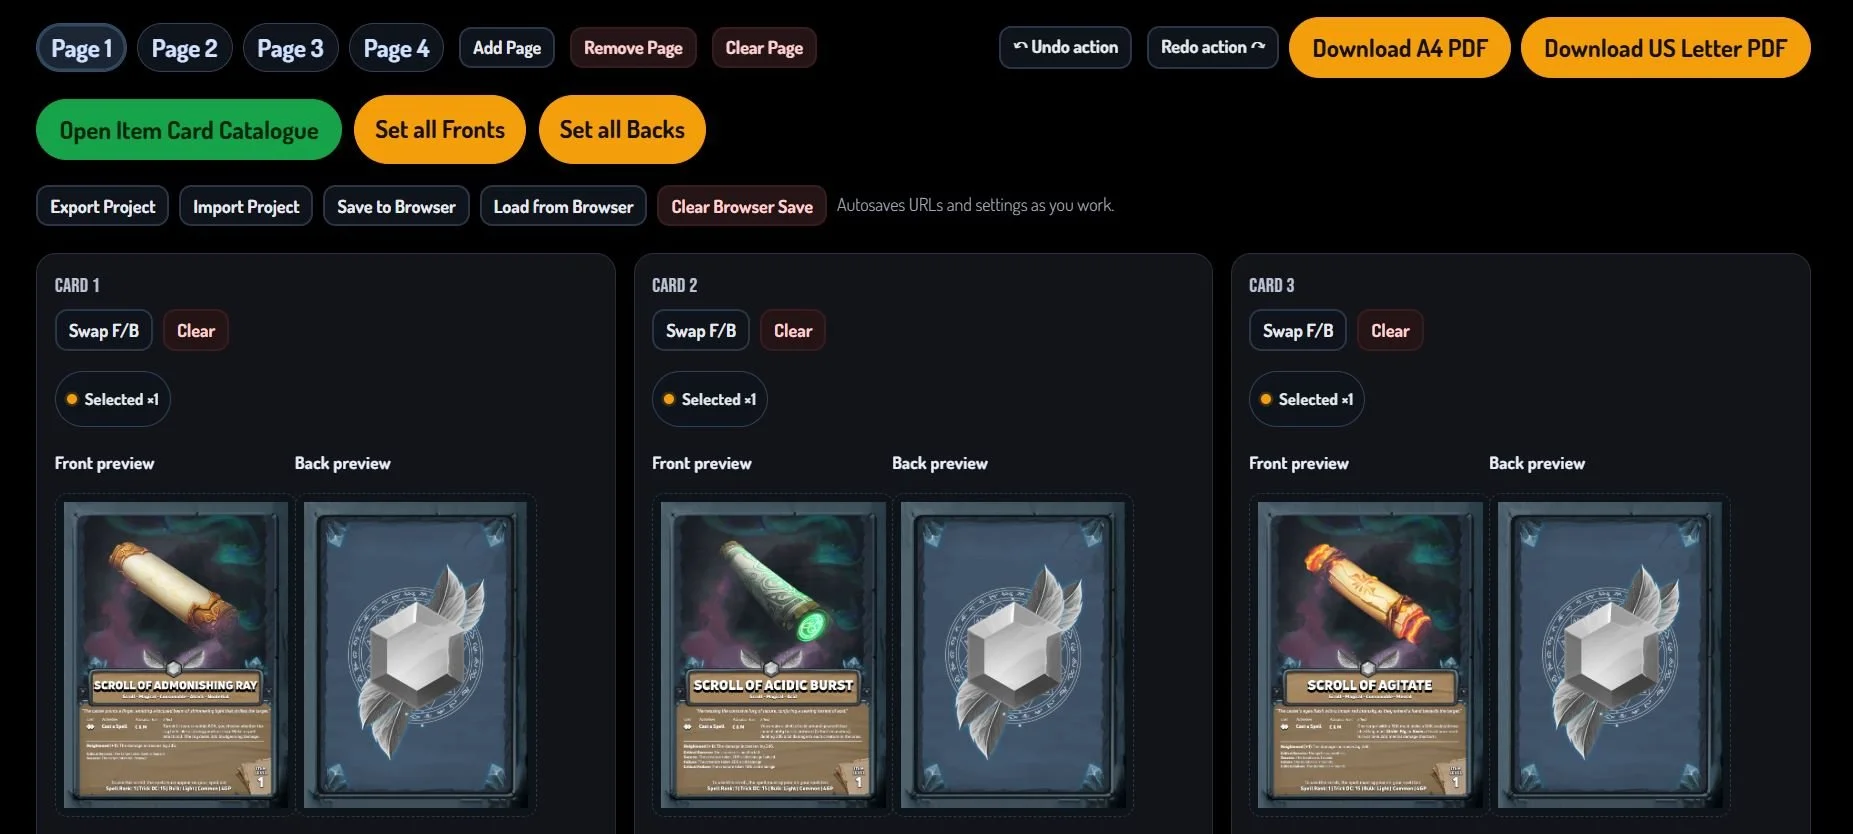
- Drag & drop cards around via the preview boxes
Choose your PDF export A4/US
Select A4 or US Letter to match your printer.
Wait for the download to trigger and print
The generator compiles a single multi-page PDF. Open it and print (for duplex, use flip on long edge).
For a guide on how to print your PDF
See our detailed printing guide for paper choice, duplex, trimming, and finishing.
FAQ
Can I print double-sided?
Yes—choose card fronts & backs and enable Mirror. In your printer settings, select flip on long edge.
How many cards per page?
Up to 9 cards per page. Add unlimited pages to a single PDF.
What paper sizes are supported?
A4 and US Letter.
Ready to print your deck?